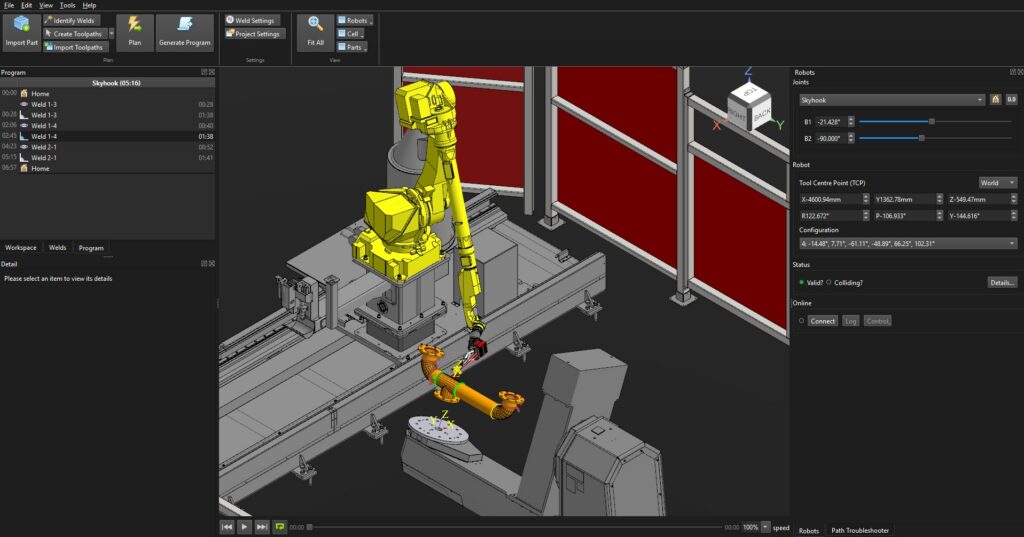
Discover how Verbotics offline programming turns 3D CAD models into production-ready robotic welding programs. This walkthrough and live demo shows how the software identifies weld joints, generates robot paths, and applies touch sensing automatically. By reducing the need for manual teaching at the robot, offline programming helps cut setup time and allows new jobs to be programmed while the robot remains in production.
What is Offline Programming?
Offline Programming is an advanced technique that uses 3D CAD models to create, simulate, and generate robot welding paths on a computer rather than directly on the physical robot. During the set-up process of your robot welding system, we create and calibrate a digital twin of your welding robot using software like Verbotics. A digital twin is a precise 3D replica of your physical robot cell, fixtures, tooling, and environment.
This process allows engineers and operators to program new welds offline while the physical robot remains in active production, significantly reducing downtime between tasks for setup and programming.
Offline Programming Demonstration
Transcript:
Hey, I’m Mitch from Infinite Robotics. In today’s video, we’re going to run through another method of programming your welding robot. And this method will use your CAD models to automatically create the path for your robot, including touch sensing.
So, in today’s demo, we’re going to weld along this test piece here, just a simple fillet weld to demonstrate the concept to you. But generally, it’ll be the same process to follow whether you’re welding a small part or a big part. And we’ll show you how much time you can save programming offline and you can compare it to how long it would take you to program using traditional or manual guided teaching or via a teach pendant.
It all happens here on the computer. On the computer as you can see on your screen now we have what they call a digital twin. It’s a replica of the robot cell that you see here. The cell has already been pre-calibrated as part of the setup process. And this particular software is an Australian software called Verbotics. Verbotics are in Wulingong, New South Wales. They make really great software. And today’s demo will run through how to run that.
So, if we look here, we’ve got our work cell. You can move it around and drag it. It looks just like Solid Works or Inventor or whatever you’re used to using. We can also see that we’ve got it preset with some of the jigs that you can see on the bench.
To get started, we need to import our part and our jig. We simply need to go up here and we can find our part here in our folder. It’ll import the part and drop it in at the origin. Now we need to orientate the part to match what it would actually be on the robot. Simply go up here and click, translate, rotate, and you can rotate it around to the right orientation. And you can type in here the coordinates. And because we’ve got this handy welding bench, we know exactly where to place it on the bench, so you can type that in directly.
And now we can see it on the bench where it is in real life. And when it’s orange, that indicates that it’s weldable. All orange parts are weldable and the gray parts are not weldable. Obviously, we don’t want to weld the jig. We just want to weld this coupon in here. To do that, we set everything to not weldable, so it’s all gray and then select the weldable parts by pressing shift and control. And then you can right click and select weldable and you’ll see here that they’ve changed to orange, which indicates that they are weldable in the software.
The next thing we need to do is detect where the welding seams are. It’s really simple. You go up here to identify welds. The software will analyse the CAD model and pick out where it thinks the welding joints are. You can see it’s selected the joint on the front and the back. We only want the joint on the front because the one at the back is not reachable in this configuration. We can simply click on it to disable it. And now we’ve only got that weld on the front. Then we click on add the weld and then close.
We can see here we’ve got our welding start and our welding end automatically placed. And if we look over on the feature tree, we’ve got our weld here. When we click on the weld, we can assign to it the welding process that we want to run. This would have a duplicate of all the welding parameters that you’ve got saved on your robot and your welding power source. We’ll go down here and select our 6 mm pulse procedure. And if you were to use touch sensing or no touch sensing you would select it here. In this case we’re going to use touch sensing.
Now, touch sensing is important when you’re modeling from say CAD to real world because as you know in the real world nothing is exactly the same as the CAD model. Touch sensing will allow the robot to come in and probe where the part is and then offset the program automatically. That this makes up for any assembly tolerances or pre-tacking tolerances you might have in your part.
And then it doesn’t need to be millimeter perfect. To create the robot program, we go up here and select ‘plan’ and then ‘plan’. And then the software will automatically create your touch sensing program and your welding program for the robot.
It’s all done now, so we can see here we’ve got our touch sensing points and our weld. And we can watch the simulation by clicking on ‘program’. And we can zoom out and then press ‘play’. And we can see the robot coming in to do the touch sensing. Everything that you see it do here on the screen is what it will do in real life, so you’re not going to get any surprises.
Then it’s going to run the weld. And then lastly, once you’re happy with that, we send the program to the robot by clicking ‘generate program’. You give it a name. I’ll call it ‘AA fillet weld’. And then select ‘next’, and depending on how you’ve got your robot set up, you could save it to a USB and load it onto the robot that way. But in our case, we can transfer it over Ethernet. So that’s the IP address of our robot. Then just click ‘okay’. It transfers it to the robot.
The program’s been transferred and now we’re ready to run. Now we’ll run it live on the robot and you can see how it replicates what we saw on the screen before. So, I’ll close my laptop just because we’re going to do a weld.
I’ve got our tablet here and we’ve got the part. I’m going to call up the program on the tablet. There it is there. I’m going to run through the touch sensing first and then we’ll pause and run the weld. So, we’re ready to go.
Let’s run the touch sensing. The robot’s going to come over and now touch sense the part to find where it is and then offset the program accordingly.
Now touch sensing’s done. The next thing is to weld it. So, I’ll just chuck my welding helmet on. Then I’m going to hit play and we’re going to weld it out. And as you can see there, it’s as simple as that.
If you have any questions, as always, feel free to reach out to us. Thanks for watching. Hope you have a great day and happy welding.
Why Use Offline Programming for Robotic Welding?
Zero Production Downtime
Offline programming allows operators to prepare, test, and calibrate the next welding program without stopping the physical welding robot, minimising disruptions and downtime.
Automatic Weld Identification
Advanced offline software automatically analyses CAD geometry to select seam locations and generate optimal robot welding paths automatically.
Built-in Touch Sensing
Offline programming software integrates automated touch-sensing to detect part variations, assembly tolerances, or tacking offsets, adjusting the robot’s path in real time to prevent errors.
Collision Avoidance & Simulation
The software allows operators to verify torch angles, reachability, and joint access visually before sending code to the cell, preventing costly collisions, surprises, or issues on the shop floor.
Robotic Welding Systems That Offer Offline Programming
Cutting-edge robotic welding technology paired with offline programming software helps to boost productivity, reduce downtime, and minimise collision risks. At Infinite Robotics, we design and install innovative welding robots to meet the diverse needs of various industries and welding applications. From FlexWeld cobots to single and dual station systems and custom built set ups, offline programming comes standard with all of our robotic welding systems.
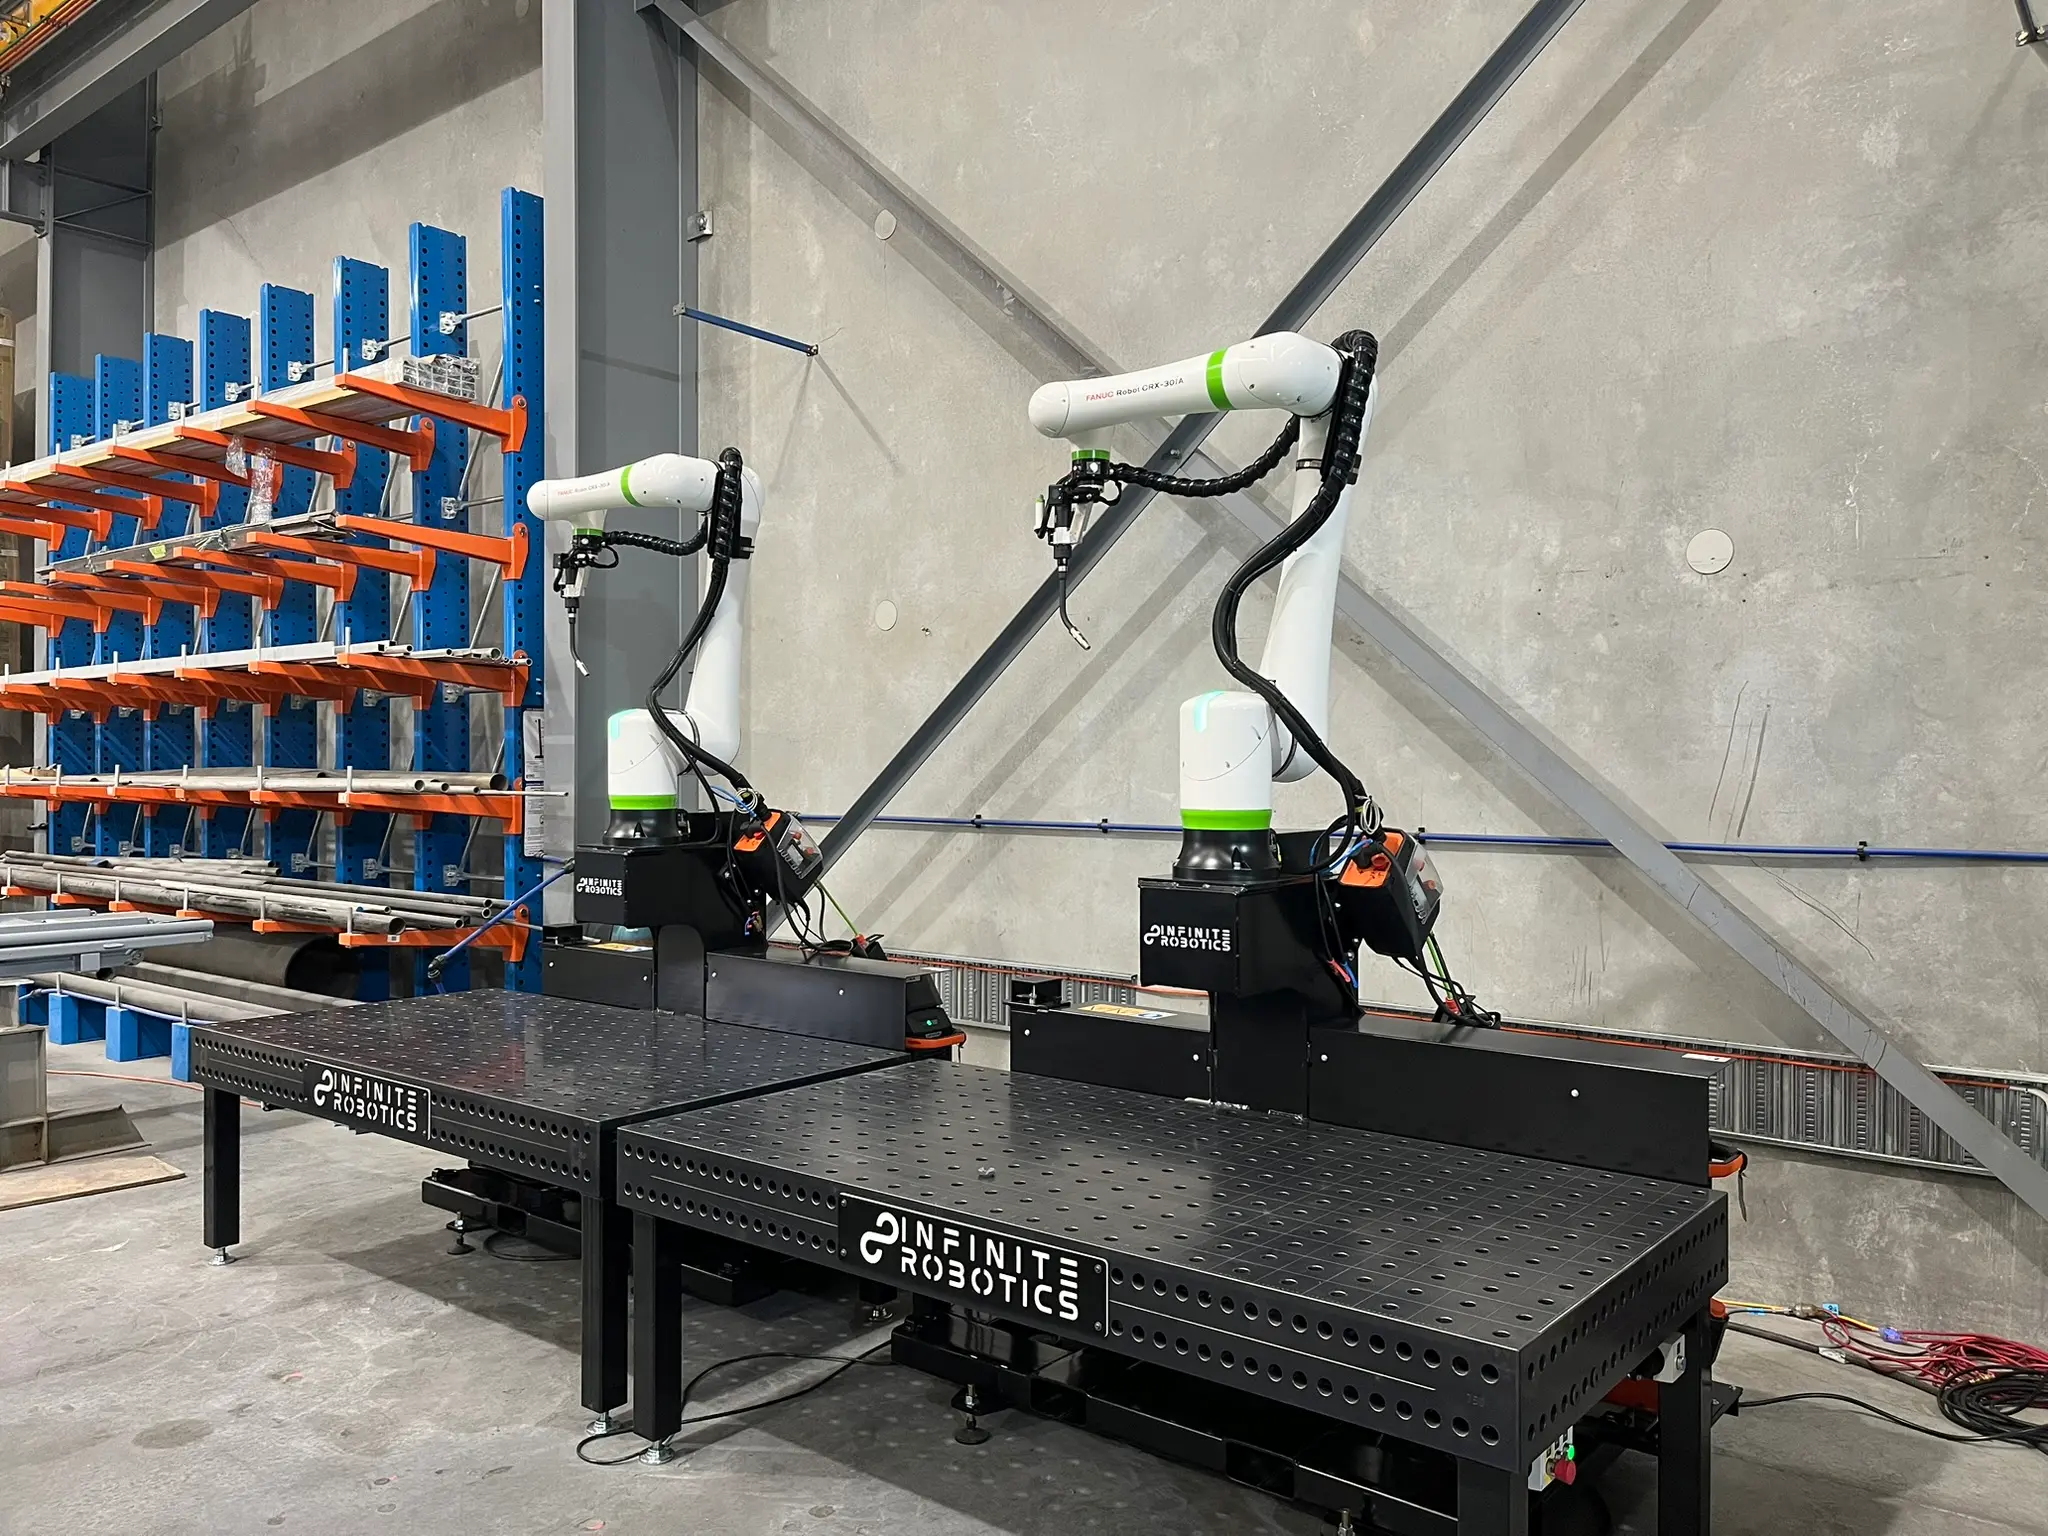
FlexWeld Cobot
Offering simple setup, usability, and superior durability, the FlexWeld is the ideal choice for low-volume, high-mix welding operations.
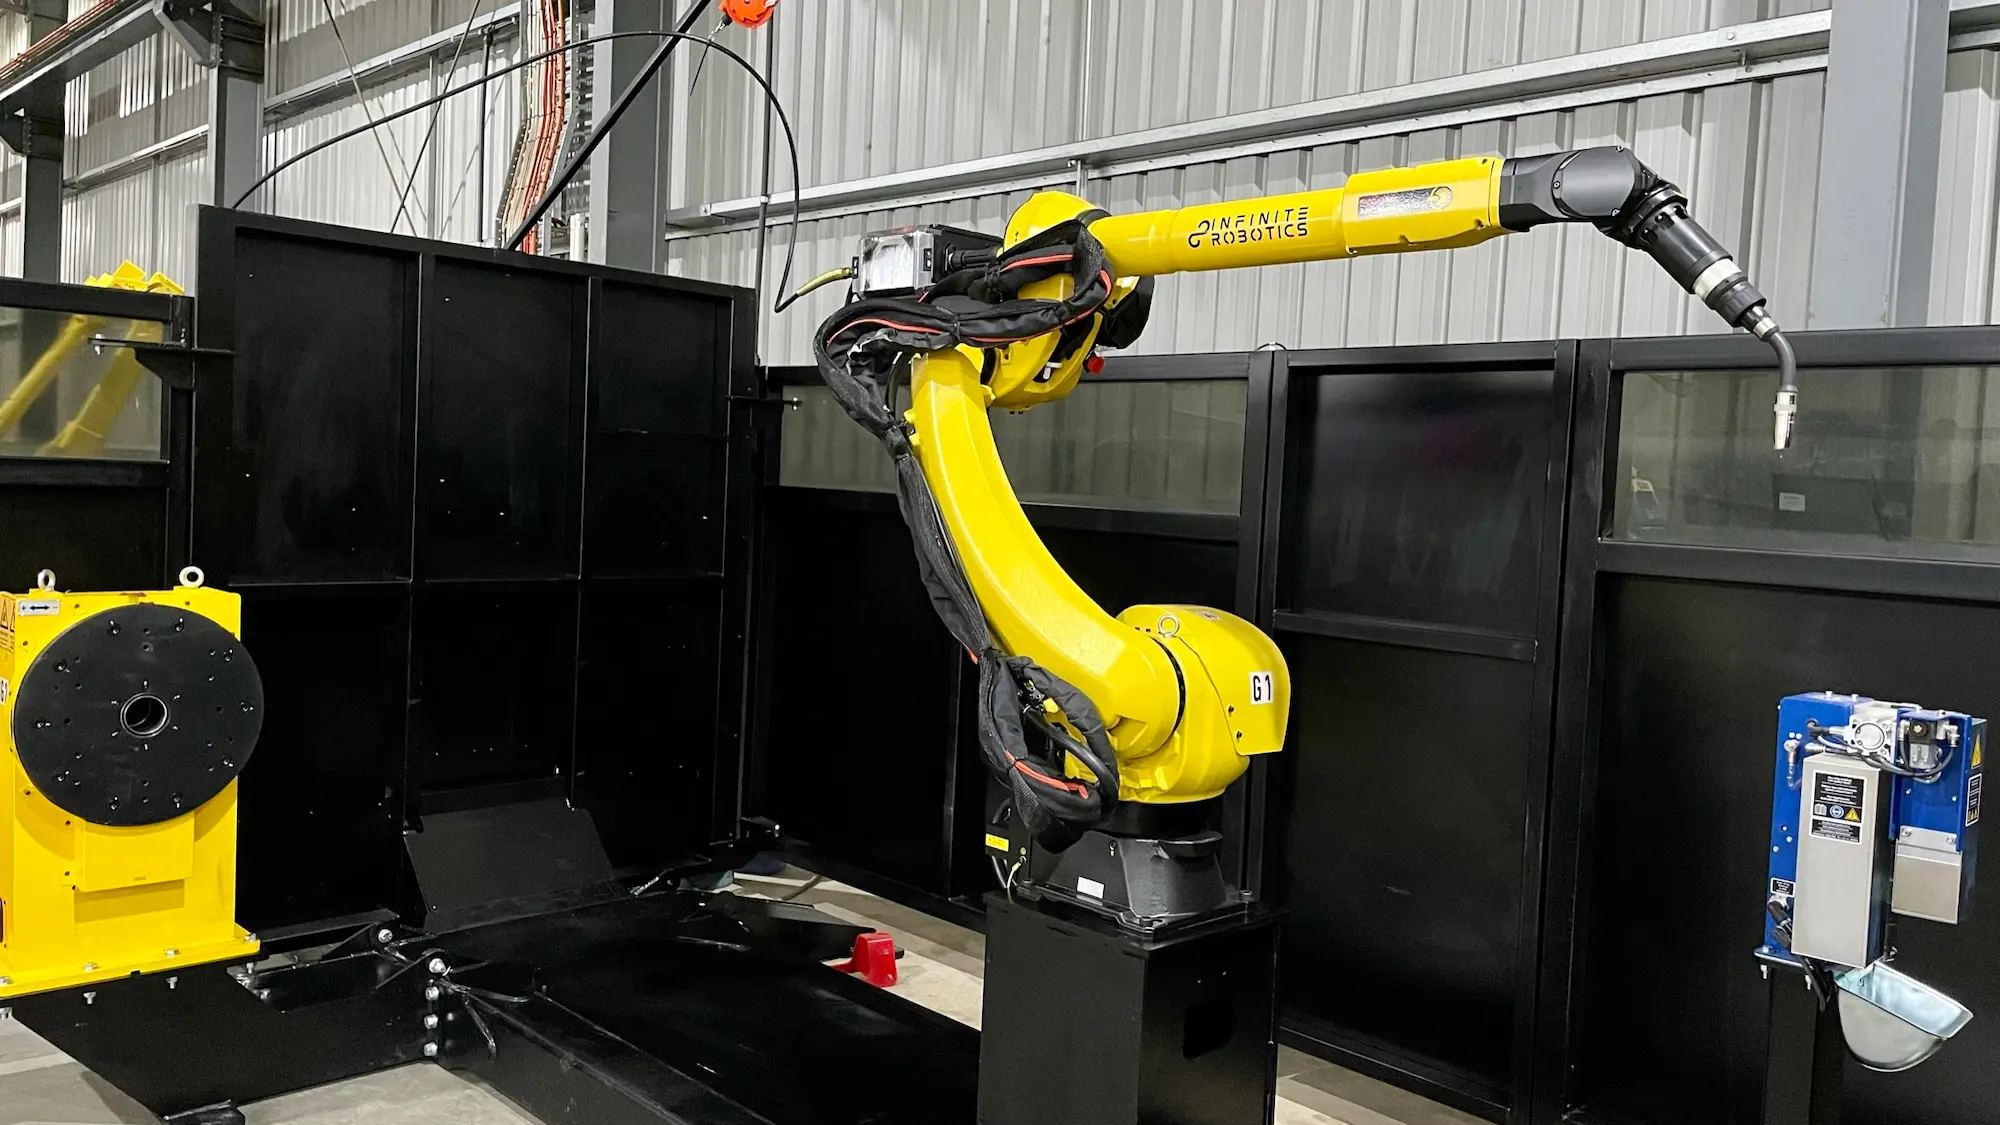
Single Station
Single Station welding robots are a pre-engineered, scalable welding solution designed to grow with your business.
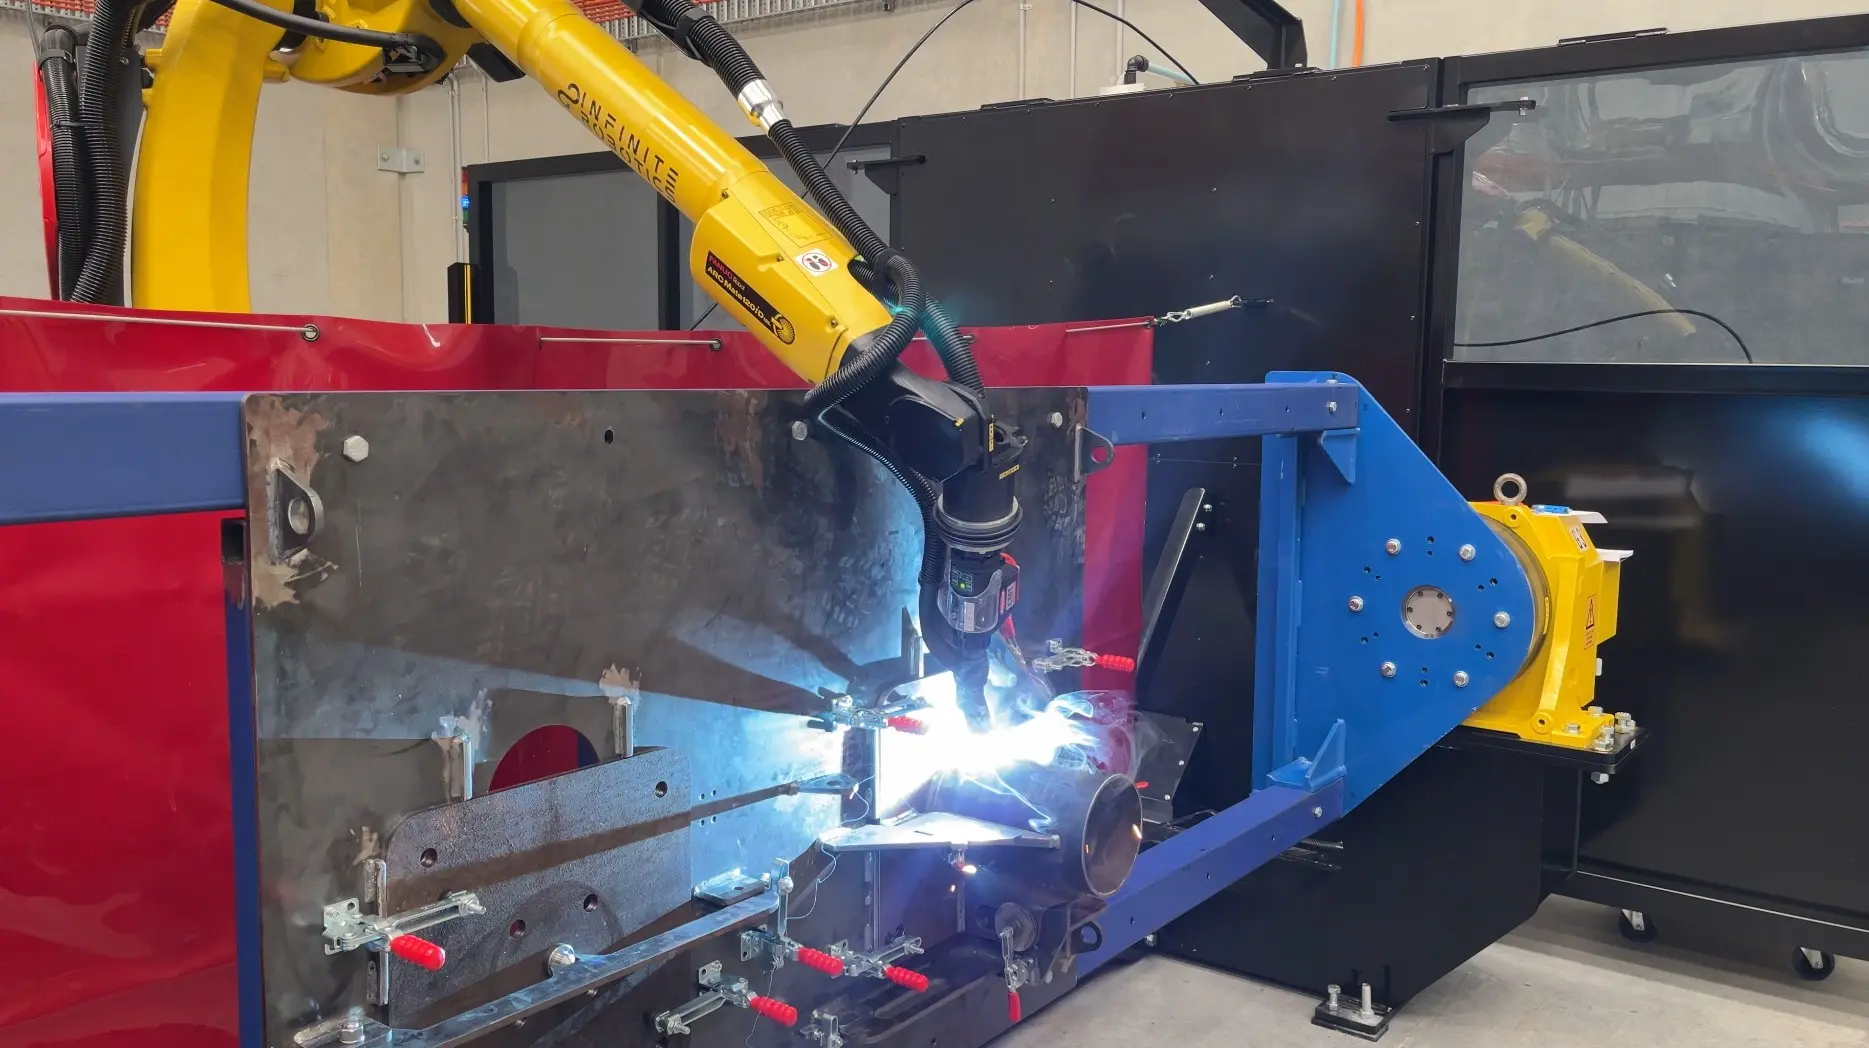
Dual Station
Dual station welding robots allow for simultaneous loading, unloading and welding, ensuring continuous production.
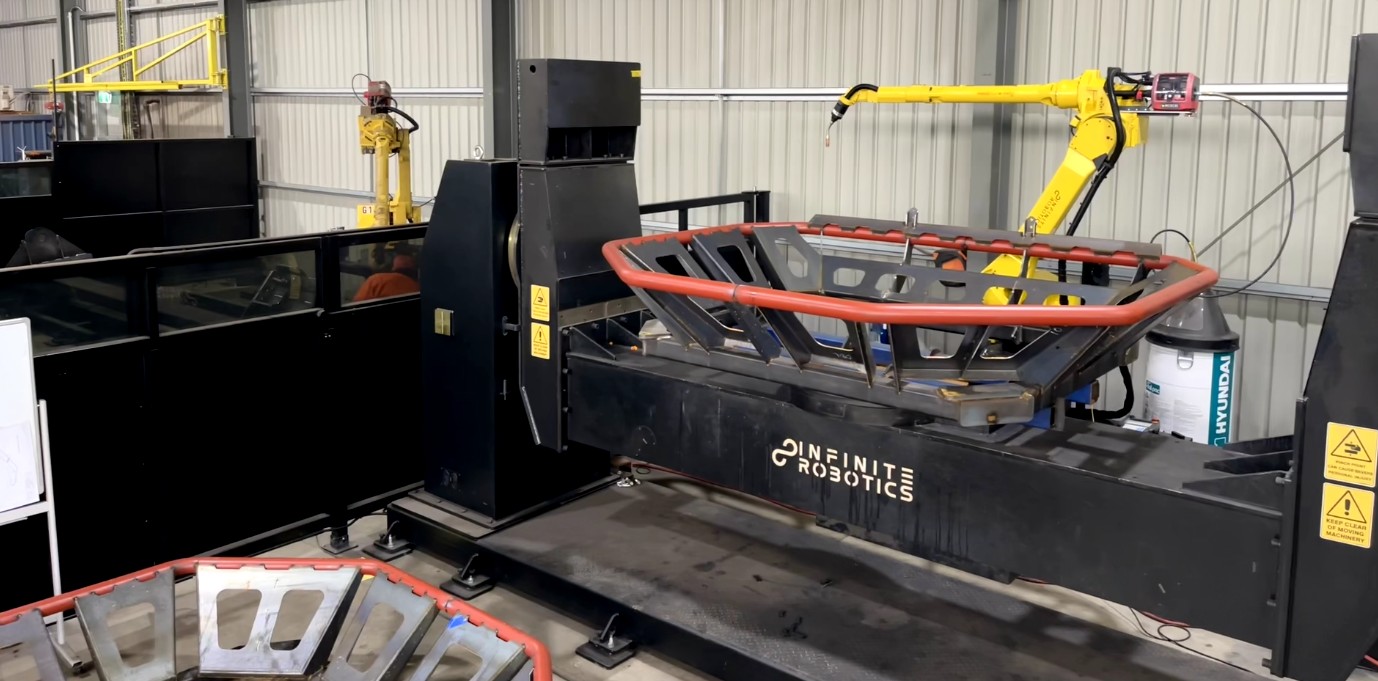
Custom Welding Robots
We design and install custom systems that seamlessly integrate into your workflow while boosting efficiency and precision.